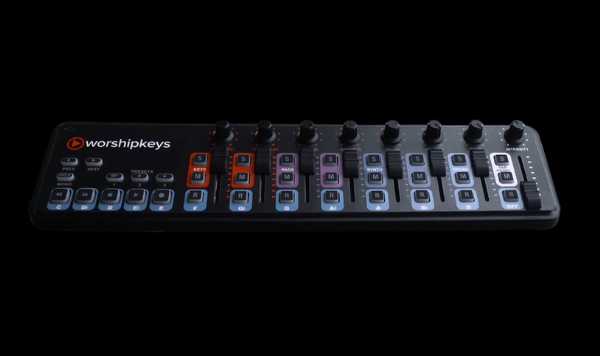
WORSHIPKEYS
Getting Started
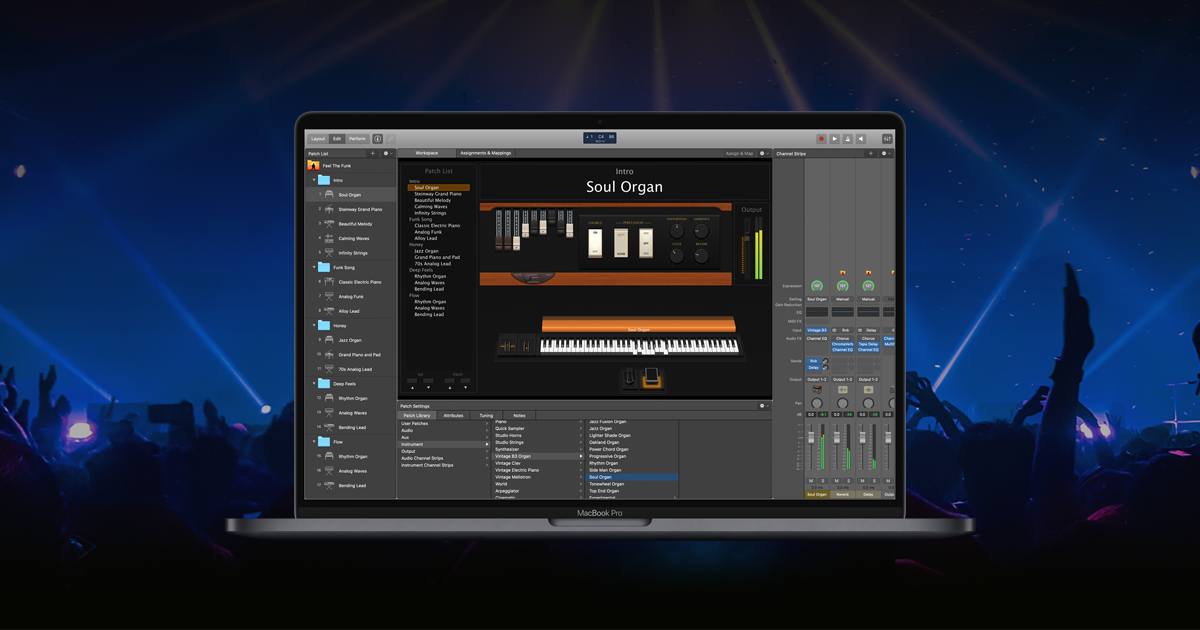
Get ready to unlock a brand new world of beautiful sounds. We'll guide you through every step to help you get started. For a more detailed overview, download our Setup Guide. Before you proceed with the steps outlined below, make sure that you have installed the latest version of MainStage, downloaded the latest version of OB-Xd, and installed the latest version of WorshipKeys. With WorshipKeys open inside , your screen should look like this:

STEP 1
Download “All Available Sounds”
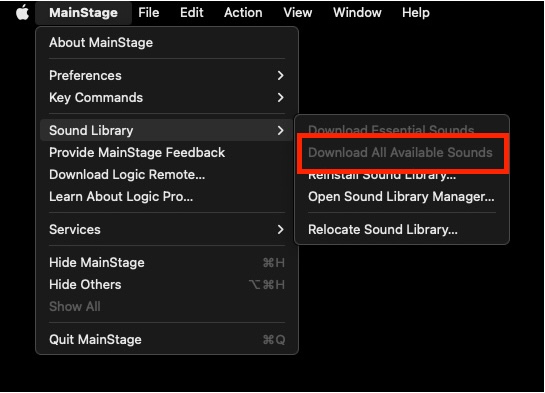
WorshipKeys primarily uses stock sounds that come with MainStage. However, when you first download MainStage, most of those stock sounds are not immediately available. TO download the necessary sounds, go to MainStage > Sound Library > Download All Available Sounds. You can proceed to the next step while those sounds are downloading in the background.
STEP 2
Connect Your Hardware
First, make sure that your sustain pedal is connected to your keyboard, and your keyboard is connected to your computer via USB. The four basic pieces of hardware you need to connect to MainStage are: 1) Pitch Bend; 2) Mod Wheel; 3) Keyboard, and 4) Sustain Pedal. Those four items are graphically represented at the bottom of the WorshipKeys concert window.

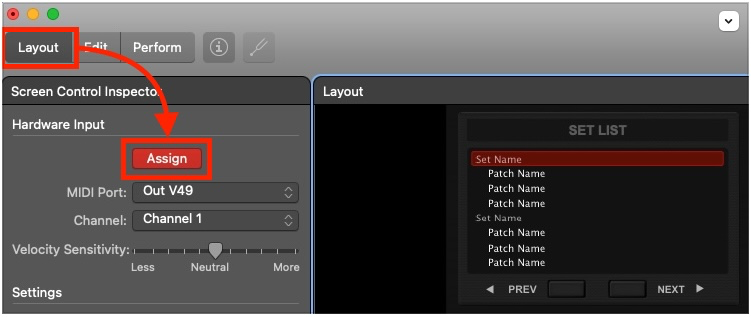
Mapping your hardware in MainStage requires a simple sequence of steps for each component. First, select “Layout” in the top left of MainStage, then click the Assign button so that it turns red.
Now you are ready for a short sequence of steps for each component:
- Keyboard - Click on the keyboard graphic at the bottom of the WorshipKeys screen. Play a few keys, ensuring that what you play is graphically represented on the keyboard. If it is, then you have assigned the keyboard connection!
- Mod Wheel and Pitch Bend - Click on the mod wheel graphic beside the keyboard. Then, engage the mod wheel on your keyboard, ensuring it is graphically represented on the screen. Then, do the same sequence for the pitch bend wheel (if you have one).
- Sustain Pedal - Click on the sustain pedal graphic on the other side of the keyboard. Then, step on the pedal, ensuing that it is graphically represented on the screen.
If everything engages, you’re connected! Select the “Assign” button again, and then return to Edit mode in MainStage.
STEP 3
Verify Your Audio Settings
If you can hear sound from your computer while playing from your MIDI keyboard, you can skip this step. If you don’t hear any sound, then follow these steps to verify your audio settings.
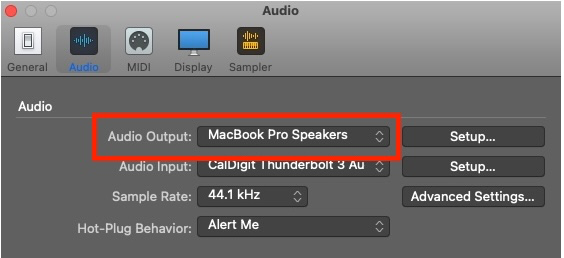
First, open Audio Settings from Preferences under the MainStage menu.

From the Audio Settings, make sure that you have the correct Audio Output option selected. This should solve your audio issues.